Share an Agent
You share an agent from its Sharing tab. You pick a user or a team, then pick what they can do with that agent.
The owner of an agent is the person who created it. The Sharing tab shows only to a person who may share that agent.
- The owner needs the Share Authored capability in a role.
- Another member needs Use Shared and Share Non-Authored in a role, and a share that grants Delegate sharing.
Share With a User or Team
- In the workspace sidebar, select Agents, then open the agent.
- Open the Sharing tab.
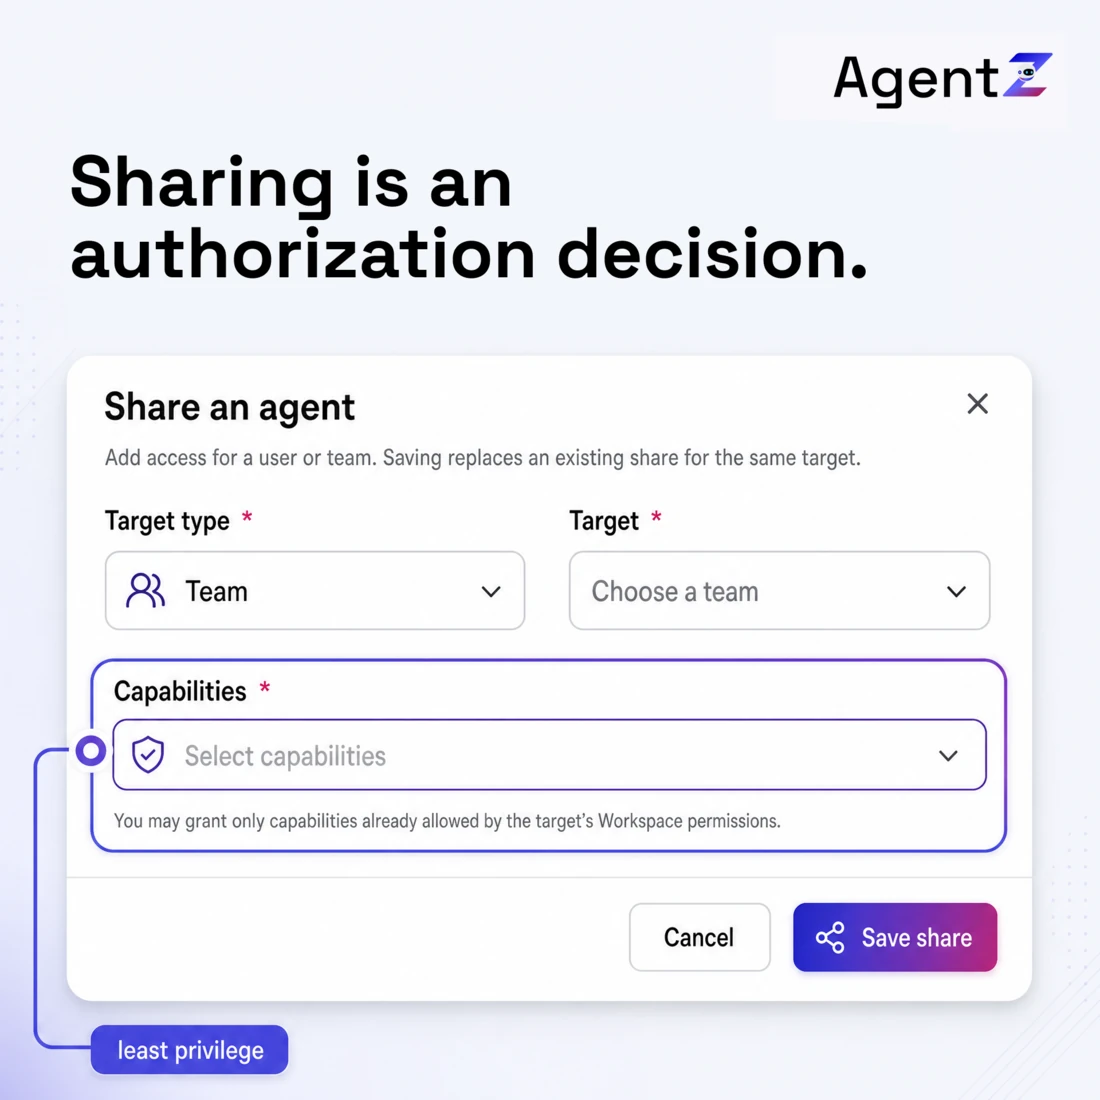
- Select Share agent. The dialog opens.
- Under Target type, choose User or Team.
- Under Target, choose the person or team. The Capabilities list unlocks.
- Under Capabilities, select what the target can do.
- Select Save share. The toast says Agent access added.
The target now appears in the table on the Sharing tab.
Capabilities Control What the Target Can Do
| Capability | What it grants |
|---|---|
| Use shared Agent | Chat with the agent and run it |
| Delegate sharing | Share the agent with others |
| Read secret metadata | See the agent secrets, without their values |
| Write secrets | Create and update the agent secrets |
| Delete secrets | Delete the agent secrets |
Secret values stay write-only. The capabilities cover secret metadata, writes and deletes. See Secrets.
You Can Only Grant What the Target Holds
The dialog lists only the capabilities that the target's workspace permissions already allow. If the target holds none, the name shows No eligible permissions and you cannot pick it.
To grant more, first give the target the matching capability in a role. For example, a user needs Use Shared in a role before you can pick Use shared Agent.
A share is not a role. It applies to one agent only.
Change or Remove a Share
To change a share, open Share actions on its row and select Edit share. Select Save changes. The toast says Agent access updated.
To remove a share, open Share actions and select Remove share. The toast says Agent access removed.
Saving a share for a target that already has one replaces the old share.
Transfer Ownership of an Agent
Transfer ownership when the owner leaves. The Ownership tab shows only to the owner and to workspace administrators.
- Open the agent and select the Ownership tab.
- Under Transfer ownership, open New owner.
- Choose the new owner.
- Select Transfer owner. The button stays off until you choose a user. The toast says Agent owner updated.
The Ownership table shows the new owner and the time of the last transfer.
Next Step
Continue with API keys.